With workflows you can define repeatable processes within your organization or unit, help staff identify what their assigned responsibilities are, and add timelines to complete processes and tasks.
Configuration | Designing a New Workflow | How to Create a Recurring Task on a Workflow | Best Practices
Configuration
Workflows are created, defined, and turned on in cb Admin.
In cb Admin, find the Workflows section on the left-hand navigation menu under cb Intake, Providers, or cb Engage then select Workflows.
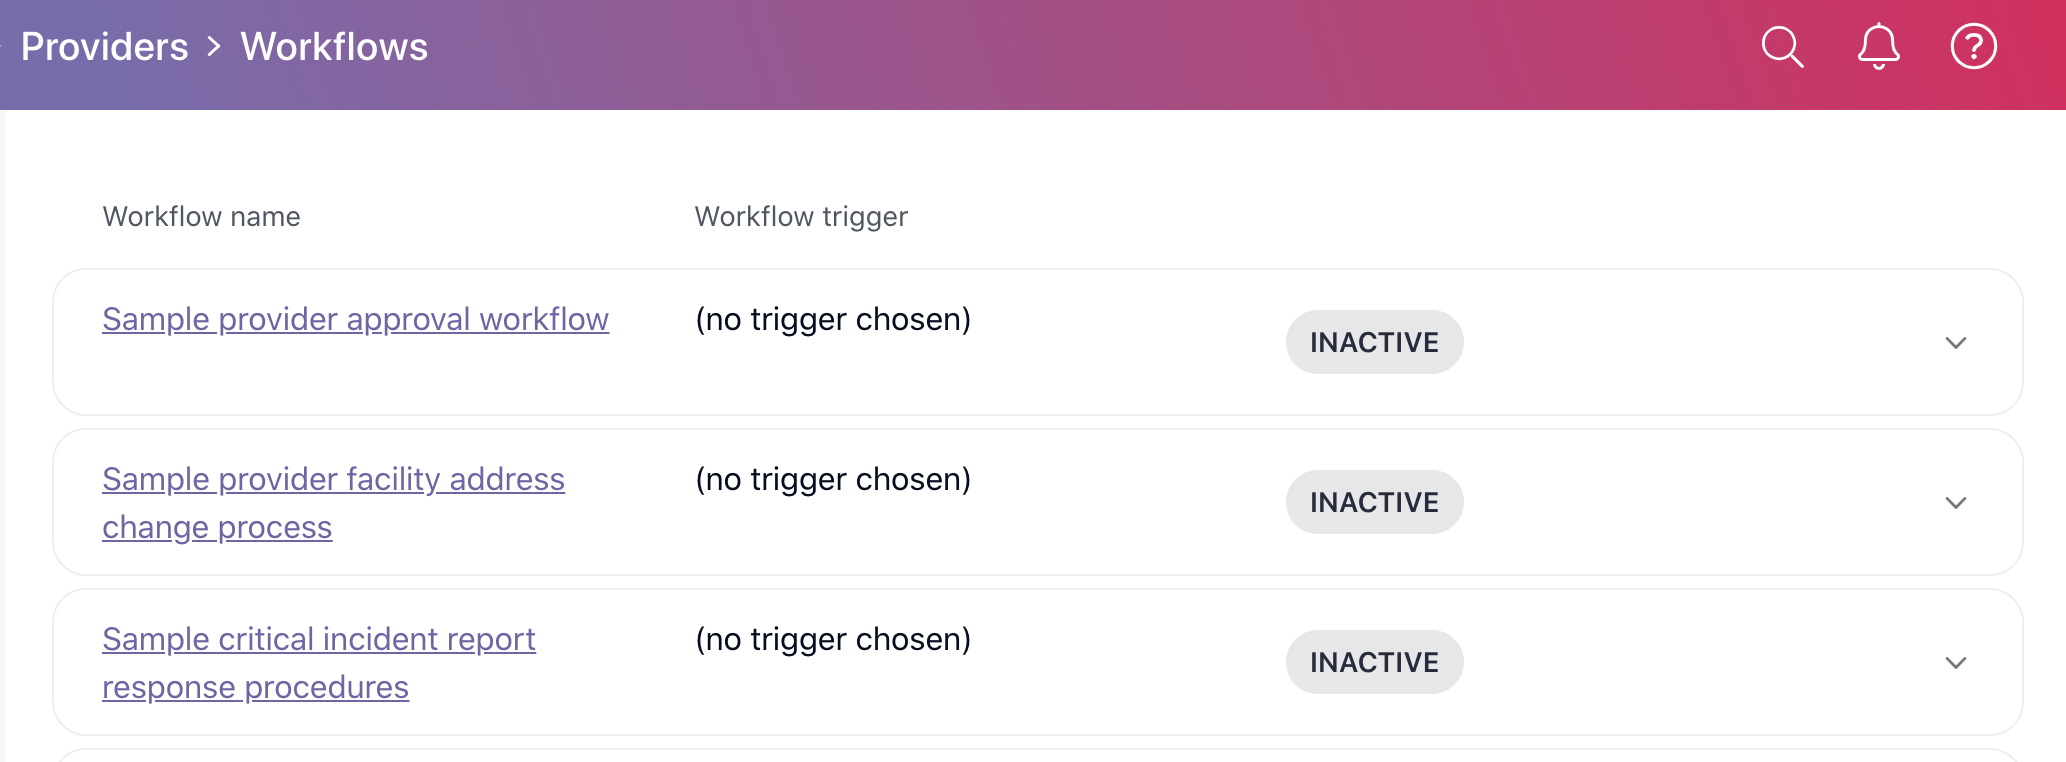
Designing a New Workflow
- To add a new workflow, click on the Create new workflow button
 (plus sign) in the bottom right corner.
 - Basic info
- Workflow name* (Required): Name of the workflow
- Workflow description: a description of what the process is set out to accomplish.
- When should this workflow run? Select a trigger to run the workflow by choosing a data field (e.g. provider type, license status, etc.) and a value. The value depends on the field that's chosen.
This data trigger will automatically create a new instance of the workflow whenever the field has a specific value.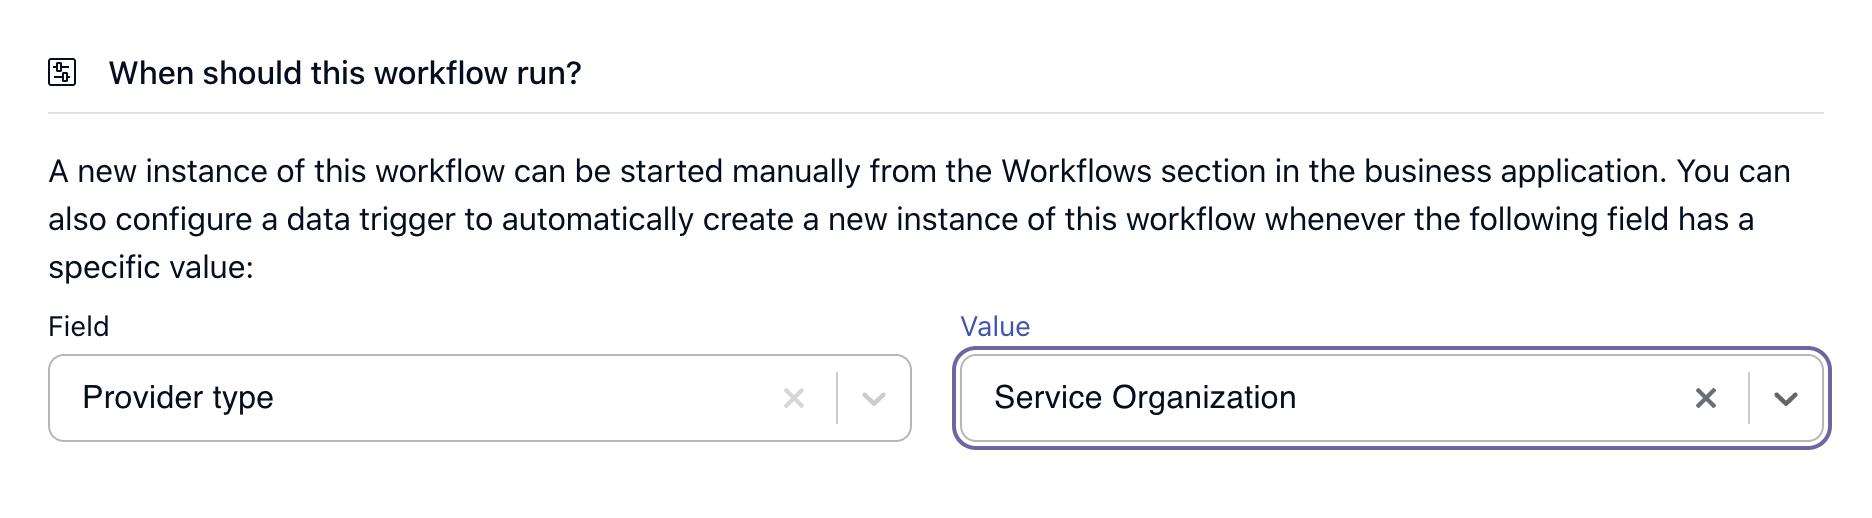
Note: Workflows can be triggered in two ways:
-
Workflows are triggered based on the creation or update of an enumerated value that is one-to-one with the provider entity.
The following fields are available for cb Track:
-
Provider Status
-
Provider Type
-
Provider Subtype
-
License Status
-
License Type
-
Contact Person Provider Role
-
Facility Locaiton County
-
Facility Location Type
The following fields are available for cb Intake:
-
Location County
-
Location Type
-
Report Source
-
Reporter Type
-
Report Type
-
Response Time
- Response Type
-
Report Method
-
Screening Decision
-
Severity
-
Report Status
-
Referral Source
The following fields are available for cb Engage: - Case Type
- Case Status
- County
b. Workflows can be manually triggered within the record.
-
- What are the steps in this workflow? Click on the Add step button to add a step in a workflow.
- Step name* (Required)
- Step description: What the workers are trying to accomplish, any important need to know, etc.
- Tasks: Click on the Add task button to add a task. Tasks are individual items that need to be completed.
- Task name* (Required)
- Task type* (Required): Choose between a checkbox (confirmation task), uploading a file, or completing a form.
- Task description: Provide more information about the task.
- Note: Click on This task is required if the task is required to complete the workflow.
- Note: Tasks will appear in the same order in the workflow as they appear here. To reorder tasks, click to drag and drop them.
- Assignee: Each step can be assigned to the same person or to different people per step. The assignee is the person that is responsible for completing the step.
- Reviewers: If a step in your process requires a review, say from a supervisor, you can add a reviewer to the step.
Once all the tasks are marked as completed, the reviewer will have the ability to review the tasks to comment and send back for revisions or to approve the step.
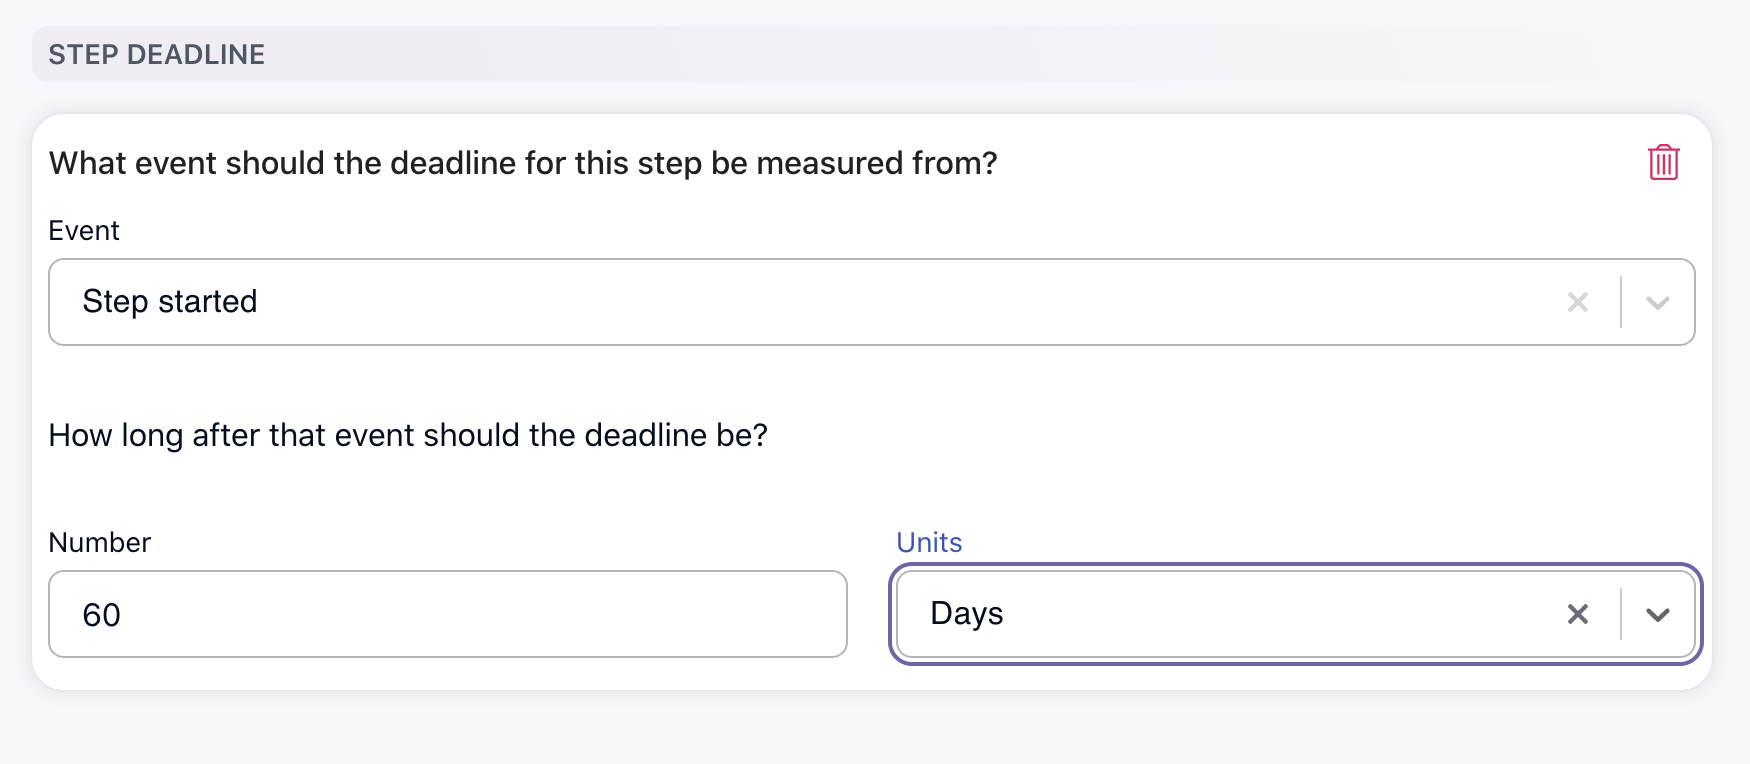
Note: If steps require a reviewer, a worker cannot move on to the next step in the workflow until the reviewer has approved the step. - Step Deadline: Add a deadline for when the step must be completed.
- You can choose the deadline based on when the step started or when the workflow started.
- Determine how long after the event should the deadline be. See the example below.
- Click Save step to add the step.
- What are the outcomes of this workflow?
- Successful Outcome: Choose what happens if the workflow outcome is successful.
For example, if the outcome of the workflow is successful, the case status is updated to closed.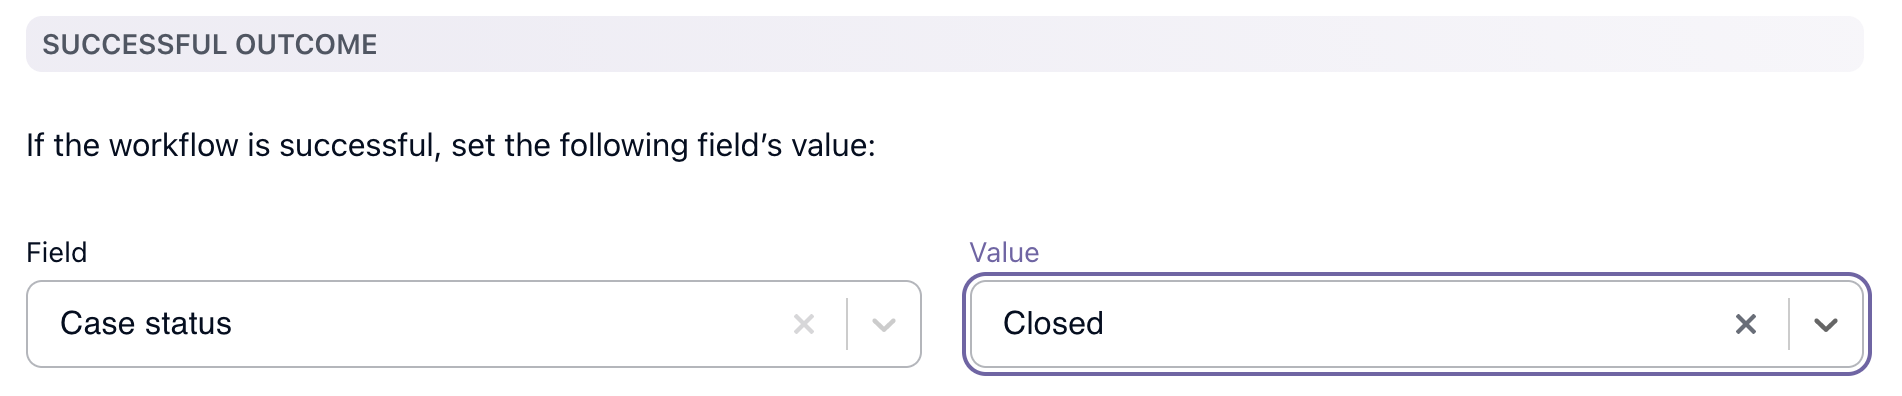
- Unsuccessful Outcome: Choose what happens if the workflow outcome is unsuccessful.
For example, if the outcome of the workflow is unsuccessful, the provider status moves to on hold.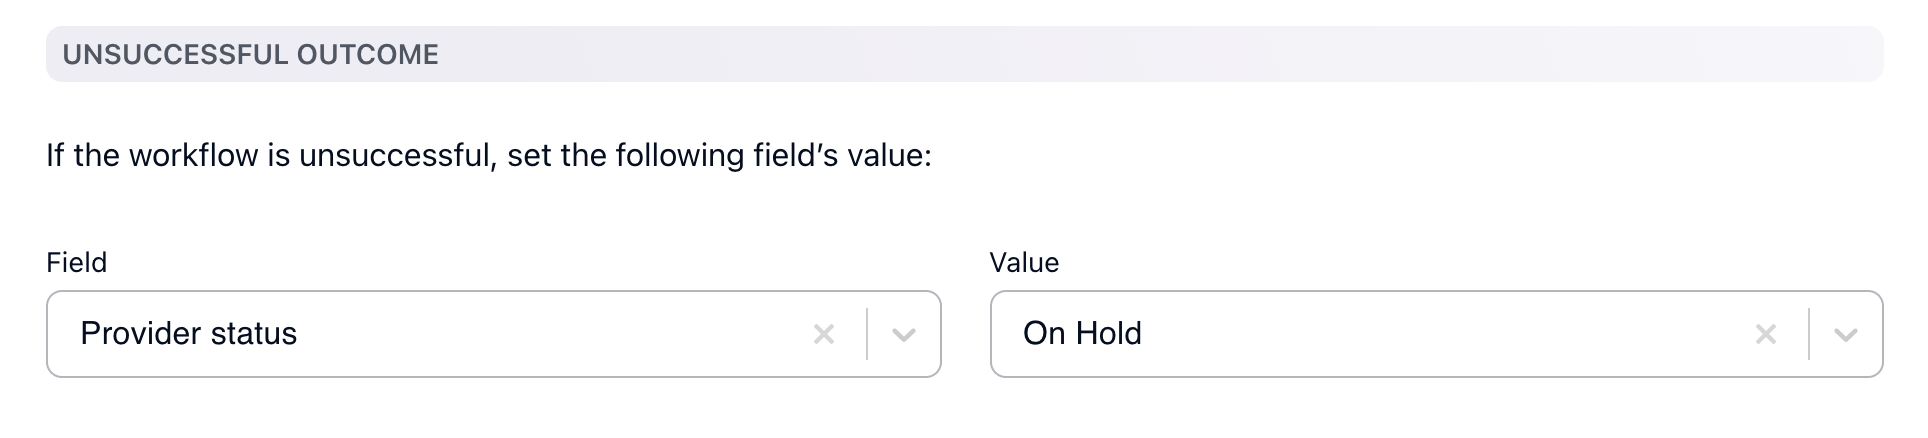
- Successful Outcome: Choose what happens if the workflow outcome is successful.
- Click on Save
 to save your work. Alternatively, you can click on Delete
  to delete the workflow.
 - After adding steps and the required information, click on Activate
 to change the status of the workflow to active and to use the workflow in the applicable app.
How to Create a Recurring Task on a Workflow
- As an admin user, go to cb Admin and then click on the 'workflows' link under either cb Engage or cb Track (depending on which workflow you want to add recurring tasks to).
- To edit an existing workflow, first, deactivate the workflow, and you can edit. Or you can create a workflow from scratch.
- Within a step, add a task (or edit an existing task if you are updating an existing workflow).
- Select 'yes' for 'is this task recurring?'
- Enter how often the task should repeat.
- Choose if you want the task to continue to recur as long as the step is open, or if you want to limit it to a specific number of repeats. When the step begins, the first instance of the task will already be visible and active.
- Save the task, step, and workflow, and set the workflow to active.
- When the workflow is added to a Case or Provider, the task will recur within that step with the configurations you selected. Within the step, a recurring task will have the recurring icon, and hovering over it will give you more information on how often the task will recur.
- New tasks will appear in the step as they recur. E.g, if the recurrence is set to daily, a new task will appear in that step each day.
How to create a new Workflow in cb Admin:

Best Practices
- Please be mindful of the values that you use for the workflow triggers and outcomes. If you archive or delete the value that is being used in a workflow, this will cause the workflow to break.
- Please be mindful of the forms that you include in a workflow. If you archive or delete the form that is being used in a workflow, this will cause the workflow to break.