Data Grids are a great form component to use to capture a variable amount of data for a field or set of fields. To add a Data Grid to your form, follow the steps below:
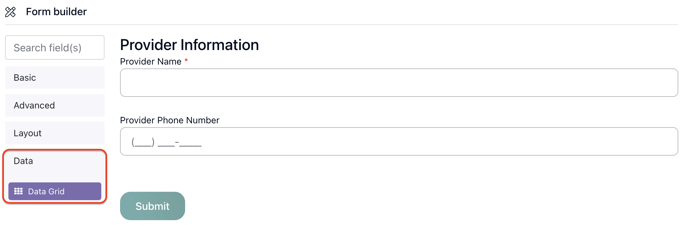
- While you are creating your form, select the Data Grid option and add this component to your form.
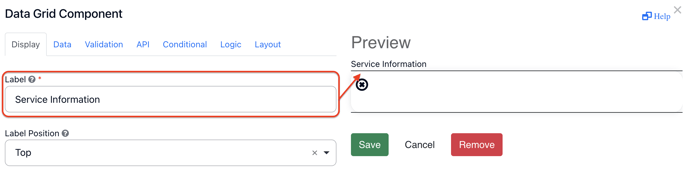
- A modal will appear, under the Label field, you can name your Data Grid. Then select Save. This is how the Data Grid will be identified in cb Reporting.
- Your Data Grid will now appear on your form. You can now drag and drop form components from the Basic and Advanced sections into your Data Grid.
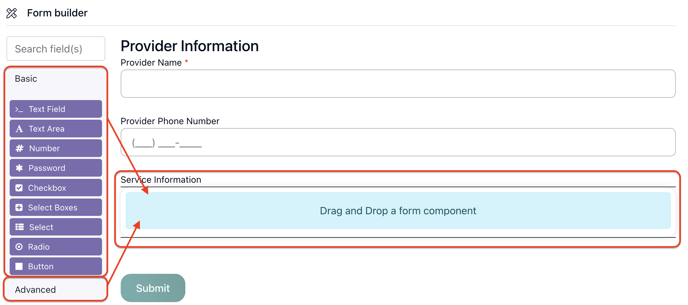
- For this example, I will drag a Text Field component, a Text Area component, and a Number component. Please note that you can drag several form components into the Data Grid, but as you add more, it will reduce the width of each column. This can cause the form to not work well visually.

- You have now successfully built a Data Grid. When you're finished building your form, be sure to Save it from the right-hand Action Menu.
How to fill out a Data Grid on a record:
You may fill out the form as normal. Once you reach the Data Grid portion, you are able to add additional rows by selecting Add Another. You can also delete a row by selecting the checkbox towards the right-hand side of that row. 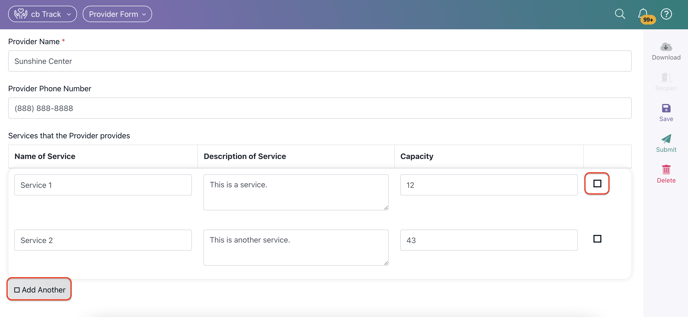
For more information on reporting on this data, check out this Knowledge Base article.
Note: Please do not nest Data Grids (place one within another).